


TREE PLANTING RESOURCES
STEP BY STEP
PLANTING GUIDE
STEP 1
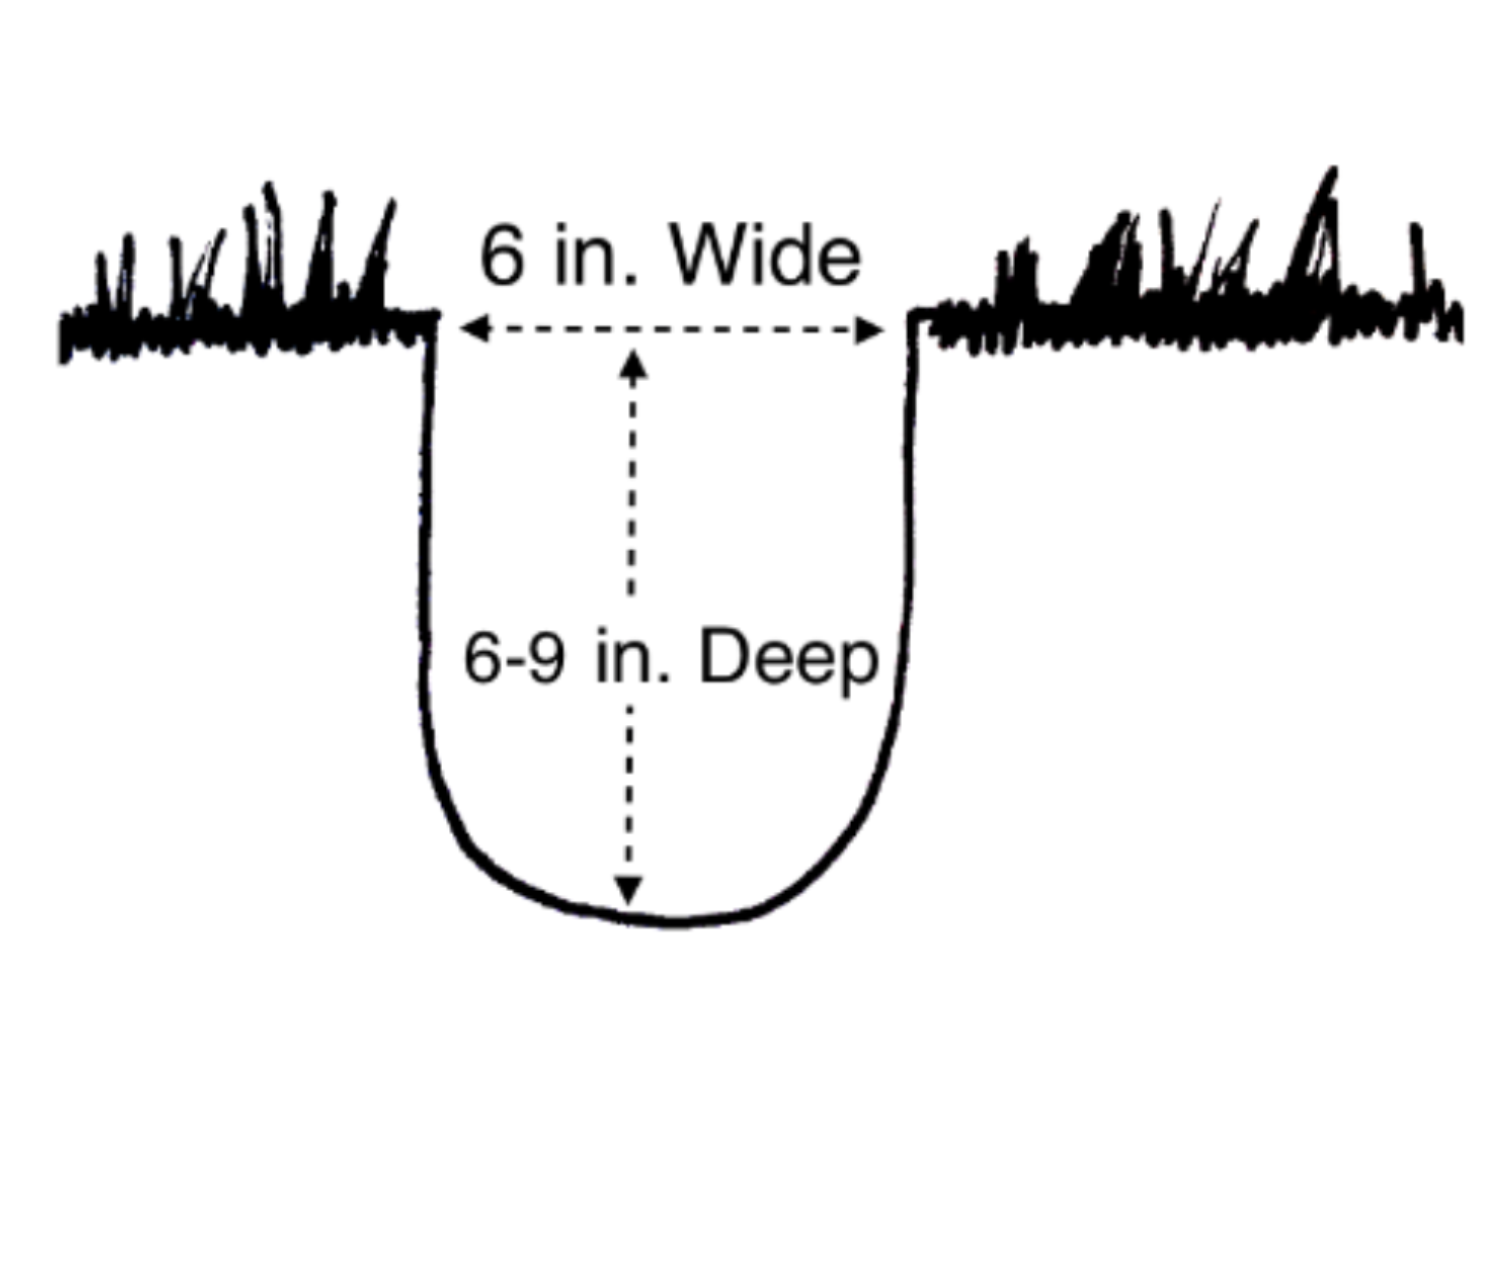
Grab a shovel and dig a hole about 6-9 inches deep (depending on the length of the roots) and 6 inches wide. You want the roots to be able to fully spread out without them being tangled or twisted.
* While digging your hole, make sure the roots are not left in the sun! Leaving the roots exposed for as little as 10 minutes can kill the tree! I would suggest wrapping the roots in wet cloth or wet newspaper.

STEP 2
Remove packaging and dip the roots in a bucket of water before examining them. Gently untangle the roots as much as possible. If there is a girdling root, untangle it before planting the tree. If you have trouble untangling it, you can gently cut it as a last resort.
Girdling roots wrap around the tree’s main root system horizontally, and if planted as is, it could suffocate the tree later in life as the flow of water and nutrients becomes restricted.
Girdling roots = bad news!

STEP 3
Fill the hole (about half way) with loose soil (no clumps) around the roots. Then, plant the tree so that the crown of the tree is slightly above the ground since the hole will settle over time.
*If the soil is hard, break it up in your hands so it is as loose as possible around the roots to avoid any air pockets. Be careful that you do not plant the tree at the wrong depth. If the tree is planted too deep, the stem of the tree could get a fungal infection and rot the tree. The roots require different needs than the trunk does. If the tree is planted too shallow, the roots will be exposed to the air and dry out, killing the tree.
* You do not want air pockets around the roots!

STEP 4
Once the bottom half of the root system is covered with loose soil, water the tree to eliminate air pockets around the roots. This allows the soil to pack firmly around the roots before adding the rest of the soil to the hole.
* No air pockets = happy, healthy roots!

STEP 5
Now fill in the second half of the hole with loose soil around the tree.
* Again, make sure that the start of the root system is about level with the surrounding ground level or slightly above. Your goal is that you want the soil line to be even with the rest of the ground after the soil eventually settles.
STEP 6
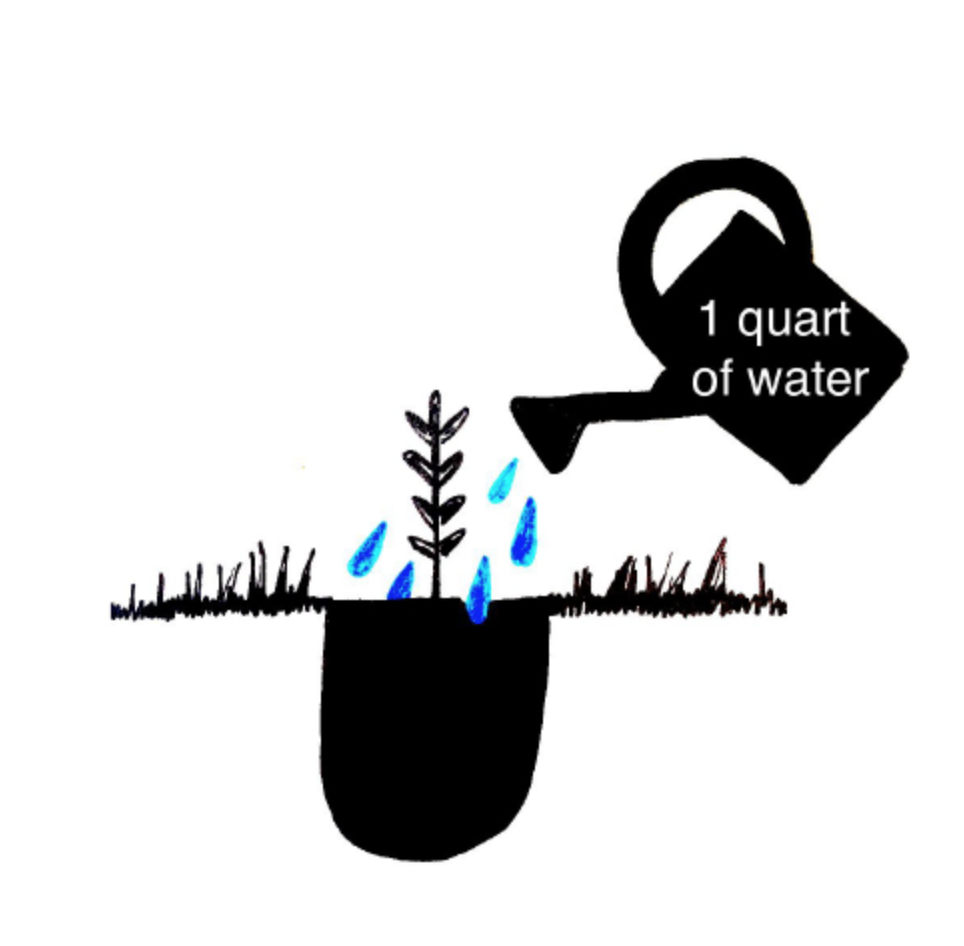
Water the tree again now that all the soil is in the hole and packed firmly - it should be at least a quart of water in total!
* You can use more water if you would like, but we suggest to cap it at around a gallon to avoid over-saturating the tree.
* Double check one more time to make sure no roots are exposed!

STEP 7
Ta-da! You’ve planted your tree! Now comes the most crucial step - maintenance. The biggest thing we can advise you to do now is regular watering. A quick rain may not penetrate the ground deep enough to satisfy the thirsty roots, so you may need to add as little as a quart to as much as a gallon of water.
Water the soil slowly so it seeps deep into the ground. Really hot and dry periods can kill the new trees within a short amount of time without adequate water.
To ensure the best probability of survival for your trees, we advise you to check the trees and add water around the base of the young tree every week if needed. You do not have to water as much (if any) during the cold winter months if/while the soil stays moist. When the trees go dormant (typically around late November or December), they should be fine until the ground starts warming again (February/March).
*The first year is critical for watering!
FAQs
-
Hello! We're thrilled to hear about your interest in contributing to our tree planting efforts. To qualify for our planting projects, we have just a couple of essential requirements:
There must be sufficient space on your property to accommodate a minimum of 50 trees.
You or someone you can coordinate with should be available to assist in planting the trees.
Do you have any more questions or need further assistance? We're here to help! Please don't hesitate to reach out to us at erik@weplantrees.org.
-
The tree species that we select vary from season to season depending on overall interest and nursery availability. However, our “go-to” species that we typically order are:
Eastern Redbud
Flowering Dogwood
Silky Dogwood
Tulip Poplar
White Oak
Northern Red Oak
Willow Oak
Sycamore
River Birch
Red Maple
Persimmon
Serviceberry
Eastern White Pine
-
It depends. If they are bare-root seedlings, you will need to plant them right away. If they are tubelings (arriving in small containers), then you have a few days to a week before planting them. Regardless, we would like to stress that you plant them ASAP! The sooner you plant them, the higher rate of survival!
-
Indeed, there are specific times during the year when planting trees might not be advisable due to extreme weather conditions. During the winter months, it's best to avoid planting when the ground is frozen. The soil's solid state makes it difficult for the tree roots to properly anchor and establish. Similarly, in the peak of summer, high temperatures and sun-baked soil can cause the newly planted tree's roots to dry out quickly, jeopardizing its survival.
The optimal periods for tree planting are during the fall and spring. The fall season, particularly from late September through December, offers a cooler climate and adequate soil moisture, allowing the roots to settle before the winter freeze. Spring, from February to May, presents a rejuvenating climate for the trees to establish roots with the advantage of the upcoming moist and warm summer months.
Ultimately, the ideal time for planting trees depends on local climate conditions, the specific location, and the current soil moisture levels. It's essential to consider these factors to ensure the successful establishment and growth of the newly planted trees.
-
No, it is not necessary when you plant them initially. If you choose to do so a few years later after they are more established, we suggest that you use slow release fertilizer and consult your local nursery for advice.
-
We would recommend that enough water be added around each tree to ensure that the soil is moistened to the depths of the roots. In the heat of summer, this could mean watering your trees a couple of times a week, or even every day. In the winter, the soil retains moisture much better than it does in the summer and shouldn't need nearly as much water since they are dormant.
-
It depends on the tree species, as tree spacing is contingent on the tree's canopy at maturity, in addition to their enormous underground root system. For bigger trees, like a tulip poplar, an oak, or a sycamore, the canopy at maturity could range from 30-50 feet in width. If you want your tree canopies to touch, but not interlock, we recommend planting at the width of the canopy at maturity. If you do want the trees to interlock, however, you can plant them closer together. It's totally up to you!
*Helpful tip when determining spacing for your trees: 30 ft. is about 10 adult paces!
-
Yes! Trees will compete with each other for crucial resources including sunlight, water, and space. By planting a tree under the shade of a well-established tree, the more mature one will win those resources 99% of the time. It's important that you plant your new tree where there is lot of sunlight, healthy soil to allow the roots to anchor with plenty of space, and have access to water. It's also worth noting that when you dig your hole to plant your tree, make sure there are no rocks or other roots from existing trees. Planting under these conditions could potentially hinder the development of the tree's root system.
-
If in a heavily deer populated area, we suggest that you use a stake and a tree protection tube, which can be ordered online or can be found in your garden/home supply store. We also suggest adding a weedmat to reduce competition of growth around the new tree. They will have a much higher survival rate if they are protected from wildlife during their first few years.